New 3Dponics Parts: How to Build a Killer Hydroponics System
Over 250 people have joined our online 3Dponics community, and many more reach out every day, eager to build and improve 3Dponics.
Of course we don’t expect you to work on the system all by yourself; we, too, have been busy creating and experimenting with new parts—ones that will not only make your system more aesthetically appealing, but more efficient.
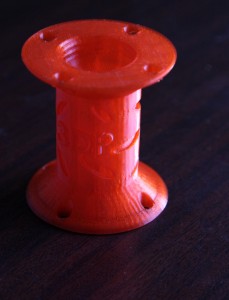
So, without further ado, these are your brand new 3Dponics parts:
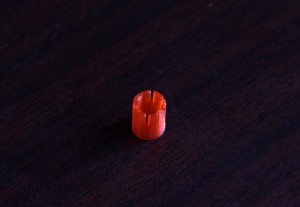
- Air Lock
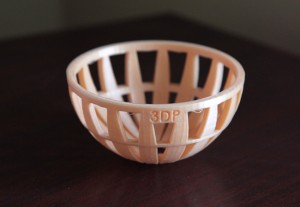
- Grow Media Basket V2
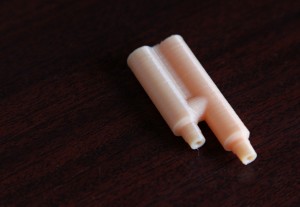
- Venturi
- Bottle Connector
Lock in air and water
The name of this part “air lock” truly says it all. You no longer need to worry about whether air or water will seep out of your system’s tubes, especially where they connect to the conduit.
Simply slide the air lock over the tube and secure it atop the tube and the conduit’s end. Also use the air lock to secure tubing to the pump connector and venturi (another new part to be discussed below).
Support and protect your plants
The grow media basket for 3Dponics is not new; however, now there are two baskets to choose from. The more options, the better, right!?
Just like the first version, grow media basket V2 holds the grow media and protects the plant’s roots from damage. (Certain types of growth medium can be hard on the roots.)
The first basket is designed for spongier grow media, whereas the second is great for clay, coco or perlite. Both versions fit inside 2-L bottles.
Upgrade your conduit
The venturi is basically a better conduit. It functions the same, but it’s smaller, so it requires less time and material to print. It’s also more efficient than the original conduit, as it can send more water to the top of the 3Dponics system.
Another plus: If you have a dual outlet pump (e.g. HagenMarina 200), using the venturi, you can power 2+ 3Dponics systems with just one air pump.
Simplify your 3Dponics system
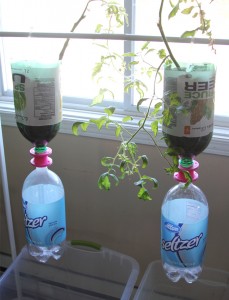
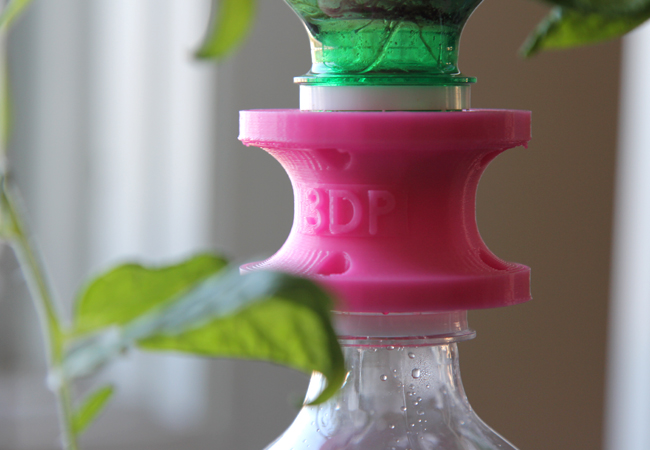
The bottle connector allows you to scale down your 3Dponics system so that it becomes what we’ve deemed the 3Dponics Mini.
What’s great about the 3Dponics Mini is that it’s made up of just three parts: two plastic bottles—one to hold your plant, the second to act as a reservoir—and a 3D-printable part that attaches the two bottles.
Build and manage the 3Dponics Mini in 4 easy steps:
- Use the bottle connector to attach the plastic bottle that contains your plant to the plastic bottle that will act as a reservoir.
- Use zip ties to hang your two-bottle system anywhere you wish.
- Water your plant. Water will trickle down, giving your plant the nutrients it needs, and eventually reach the reservoir.
- Once the reservoir is full, reuse the run-off nutrient solution to re-water your plant.
You see then that there’s no need to construct a tall and, to some, cumbersome structure nor find an air pump. Just use the 3D-printable bottle connector to simplify your 3Dponics system.
With that said, it is possible to attach the bottle connector to your regular 3Dponics drip hydroponics system. Use it to join the last two bottles. The bottom bottle will act as the reservoir, collecting run-off nutrient solution that can be reused.
This new part is available in two sizes: large and small. The only difference between the two is that the large creates additional space between bottles.
Add the parts to your indoor garden
Download the digital files for these parts (or older 3Dponics parts) for free from any of the following online 3D content sharing platforms:
All of these files will be available on additional 3D content sharing platforms in the coming weeks. If you’re interested in distributing the files, let us know. We’re all for innovation through collaboration!
Check in again, as we’ll soon be revealing the parts you need to build a 3Dponics non-circulating hydroponics system. Also, sharing is caring, so please click the buttons below to share this news with your network. Thanks for your support.

